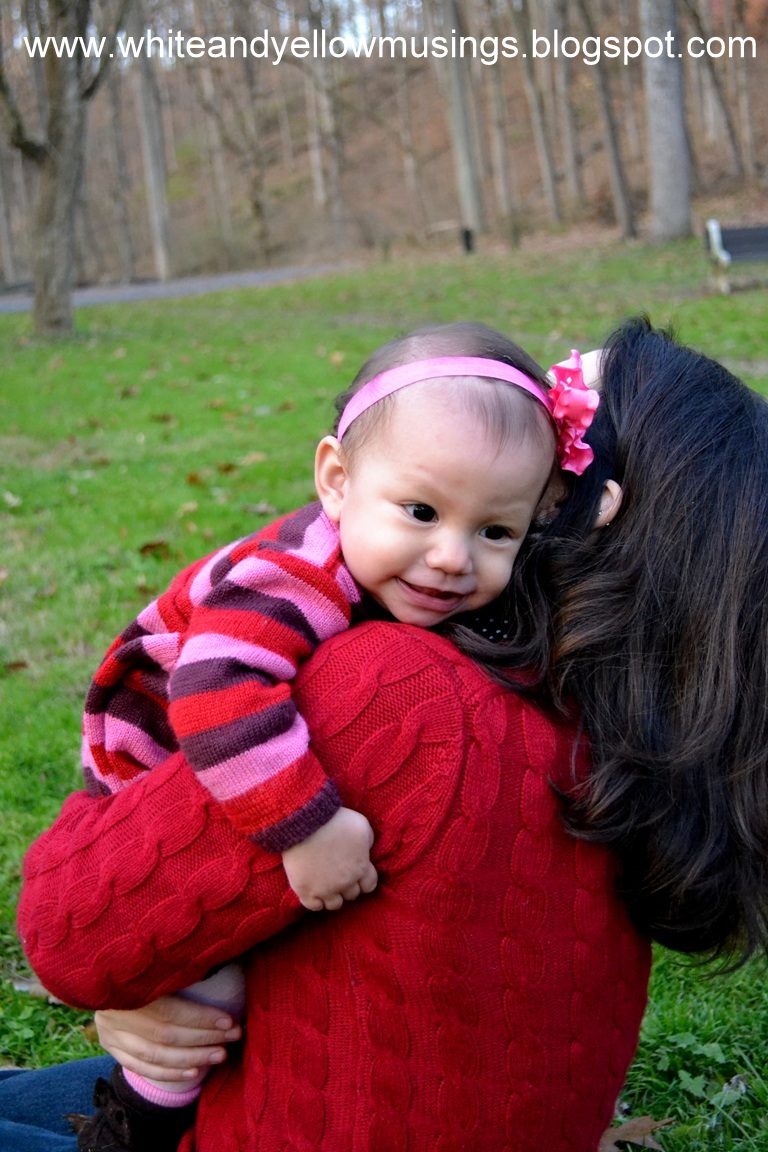
![]() |
| Daddy likes this one. Perfect snowboarding form right there! |
Tuesday, December 11, 2012
Just playing with the camera
One Sunday afternoon in mid-November, we headed to a nearby park with baby and camera in tow. We didn't get any smiles (my mom friends warn me it will be another 3-5 years before she willingly smiles for the camera again...) but we got some fun shots. Enjoy!
Sunday, December 9, 2012
A Year Full of Teddy Bear Pictures
This past year we had a lot of fun measuring E's growth next to a teddy bear. Starting when she was born, we took a picture every month on the same chair, sitting with the same bear. It's been fun to see her growth and how her features and expressions have changed over the past year. Some months we captured better expressions than others, but that's the joy of life with a baby :)
It's so hard to believe that the bear was actually bigger than her in the first few pictures.
She's still such a peanut, but she really has grown. If you look closely, you'll notice she's in the exact same dress in her 3 month and 12 month pictures. She hasn't grown too much :)
Here are our favorites from every month:
I plan to keep taking these every year on her birthday :)
Thanks to Shelby Blevins Photography for months 0 and 3! I'm still in love with the picture of her yawning.
It's so hard to believe that the bear was actually bigger than her in the first few pictures.
She's still such a peanut, but she really has grown. If you look closely, you'll notice she's in the exact same dress in her 3 month and 12 month pictures. She hasn't grown too much :)
Here are our favorites from every month:
![]() |
| *age in months |
I plan to keep taking these every year on her birthday :)
Thanks to Shelby Blevins Photography for months 0 and 3! I'm still in love with the picture of her yawning.
Friday, December 7, 2012
Favorite Things Friday - Moby Wrap
Growing up, I was always that annoying kid who would stalk moms of infants in hopes of getting to hold the baby :) There is just something magical about snuggling a little one. Some of my most distinct memories of babysitting in middle and high school are of me rocking babies to sleep. There's just something so precious about helping a little one settle and relax into a peaceful sleep. I love it!
Before having E, I hadn't really thought much about parenting, or what methods we would or wouldn't use. However, rocking my own babies to sleep was something I was incredibly excited to experience. We completed her little nursery with the wooden rocking chair my parents had used for me and my sisters. Everything was perfect!
And then E came home :)
What I wasn't counting on was a little six pound baby who woke up screaming uncontrollably the minute she went from peacefully sleeping in your arms to being gently laid in any crib or seat. It was like a switch would go off and she'd be awake and angry. If we picked her back up right away, she'd go back to sleeping peacefully. (Upon further reading, I think we may have had better luck if we had waited a little longer after she was asleep to lay her down. It can take 20-30 minutes for newborns to get into a deep sleep.)
When she was four days old, I reconsidered my need for a baby carrier, and bought a Moby wrap.
Best. Decision. Ever.
We could tuck her into the Moby, rock her to sleep just by doing normal, everyday activities, and she'd take naps and stay asleep while we had two free hands and could still be productive. She would stay warm, her breathing regulated by ours, and she'd stay content. We could have the benefit of holding her a little extra while still being able to function. It was wonderful!
At three or four months old, E started napping in her crib when we'd lay her down, but she still loves to be held while sleeping.
Even now, if I tell Chou she had an off day, his response is, "oh, didn't you use the Moby?" It really is a lifesaver! And now that she's a little older, she gets really excited when she sees me getting it out. Last week she started clapping when she saw me wrapping it. And right now she's catching a nap in it after my vacuuming lulled her to sleep :)
And now that we've been rocking E to sleep for a year, I still love that time with her :) Unfortunately, she prefers that time with her daddy over me. I nurse her to sleep regularly, but if she wants to be rocked to sleep she wants her daddy every time. I love how much they love each other!
If you're considering a baby carrier, make sure it has great hip support like the Moby. I had no idea this was necessary when I bought the Moby, but have since learned and thought I'd pass the info along. Here's a link showing things to look for in carriers and seats.
You can find more benefits of babywearing are listed here and here.
Before having E, I hadn't really thought much about parenting, or what methods we would or wouldn't use. However, rocking my own babies to sleep was something I was incredibly excited to experience. We completed her little nursery with the wooden rocking chair my parents had used for me and my sisters. Everything was perfect!
And then E came home :)
What I wasn't counting on was a little six pound baby who woke up screaming uncontrollably the minute she went from peacefully sleeping in your arms to being gently laid in any crib or seat. It was like a switch would go off and she'd be awake and angry. If we picked her back up right away, she'd go back to sleeping peacefully. (Upon further reading, I think we may have had better luck if we had waited a little longer after she was asleep to lay her down. It can take 20-30 minutes for newborns to get into a deep sleep.)
When she was four days old, I reconsidered my need for a baby carrier, and bought a Moby wrap.
Best. Decision. Ever.
We could tuck her into the Moby, rock her to sleep just by doing normal, everyday activities, and she'd take naps and stay asleep while we had two free hands and could still be productive. She would stay warm, her breathing regulated by ours, and she'd stay content. We could have the benefit of holding her a little extra while still being able to function. It was wonderful!
| Baking Christmas Cookies, Dec 2011 |
Even now, if I tell Chou she had an off day, his response is, "oh, didn't you use the Moby?" It really is a lifesaver! And now that she's a little older, she gets really excited when she sees me getting it out. Last week she started clapping when she saw me wrapping it. And right now she's catching a nap in it after my vacuuming lulled her to sleep :)
And now that we've been rocking E to sleep for a year, I still love that time with her :) Unfortunately, she prefers that time with her daddy over me. I nurse her to sleep regularly, but if she wants to be rocked to sleep she wants her daddy every time. I love how much they love each other!
| More often than not, E is not the only one to end up asleep :) |
You can find more benefits of babywearing are listed here and here.
Monday, December 3, 2012
Christmas Stockings
I spent all Christmas season last year on the prowl for adorable and affordable Christmas stockings. We didn't do stockings growing up, but I love the idea of filling them with practical items or a few special treats. I want to start the tradition for E, so after a season of coming up empty handed I decided to sew my own this year.
I found adorable fabric at a local store and decided to go with this pattern. I made two red and two green stockings. I added a lining of an inexpensive off-white muslin.
To cut the solid colored main fabric for the boot of the stocking, I folded it in half, front sides facing, pinned the pattern on top and cut (pattern A/B). I did the same for the white lining (pattern A/B), the front and back cuffs in the ivy print (pattern C), and the solid colored loop (pattern D).
I sewed the main fabric for the boot, right sides together, leaving the top entirely open and unstitched. I then turned it right side out, using a chopstick to open up the toe.
I sewed the white lining fabric, right sides together, leaving an opening in the heel that was about 3 inches and left the top entirely open and unstitched. I left it inside out.
I sewed the cuffs, right sides together, and top opened. I then turned them right side out, using a chopstick to poke all the points out.
I made the loops lined as well just to add strength. I sewed two pieces the same color as the boot wrong sides together, then folded it in half lengthwise and sewed the edge down, and then turned it right side out and ironed it open and in half to create the loop.
To assemble, I pinned the front and back cuffs to the boot.
Then I put the pinned boot, cuffs and all, into the inside out lining like this, creating a stocking with the right sides facing each other:
I pinned all the edges together, added the folded loop, folded side down toward the heel, just under the lining layer, and sewed the whole way around the top.
It looked like this:
Then I pulled the green fabric out through the 3" hole in the heel like this:
I worked all the green fabric out and then worked on getting the lining right side out. And I ended up with this:
I hand sewed the hole closed.
And then tucked the lining into the boot and had an adorable lined stocking!
Then I made three more :)
E and I bought some real garland from a local store.
Since we lack a mantle, we hung the stockings by the railing. Not quite as poetic, but it works :)
Saturday, December 1, 2012
Fresh Fruit Birthday "Cake"
![]() |
| Fruit Birthday Cake |
We kept E's first birthday really simple and low-key. All our friends and relatives came out for Chou's big party, and E won't remember this one anyway. We had my parents and grandparents over for food and gifts.
At one year old, E has never had refined sugar or grains and we're hoping to keep that up for the next year as well. Standard birthday cake wasn't going to happen, so we had to get creative. We were originally planning on a bowl of whipped cream and fruit, but Chou had the genius idea to make a cake out of fruit! I loved the idea and the execution!
Chou carved a pineapple into a 3 tiered "cake", and then decorated it with cut up blackberries, strawberries, kiwi, grapes, pears, and a little freshly whipped cream. Not only was it adorable and free of any refined sugar and flour, but E loved it! She adores fruit, so she didn't miss having a real cake one bit. We cut up some extra fruit into a fruit salad for the rest of us.
![]() |
| Playing with grandma and her balloons |
![]() |
| Here you go! |
And then the best part: she put everything back on her plate and pushed it aside when she was done. Love it! I'm a proud mama!
![]() |
| All done! (This is unfortunately the only picture of the pineapple base) |
![]() |
| I'm kinda loving these Chinese blocks. |
this post has been entered in Real Food Wednesdays
Basket Weave Baby Afghan
Chou and I really like to keep gifts simple. We would both rather get no gift at all or one or two gifts that are truly needed and/or wanted than a pile of gifts that will end up in storage or the back of a closet somewhere. Our century-old home has a grand total of three small closets, which is added incentive to make every item worth its storage space. Over the years, some of my favorite gifts from Chou have been tickets to go see the Yankees play in New York (at the old stadium where we could actually afford tickets that were close enough to recognize players from their faces and not just the backs of their jerseys) and the framed wedding photos that are hanging in my dining room and living room.
Thinking about E's first birthday, I really wanted to get her something meaningful that would last more than a few months and then inevitably be set aside for the next baby or sold at a yard sale. I saw this blanket on pinterest last spring and decided to make it over the course of the summer.
The blanket is made up almost exclusively of this basket weave stitch, which I absolutely love! It is the same on both the front and the back, which is really nice for a blanket, and it creates a nice thick afghan that is incredibly warm. Additionally, it's super fast and easy and really different from most crocheted patterns. The only downside is that it uses a lot of yarn.
I used the Charisma yarn from Michaels and a size N hook as the pattern recommends and I love the sheen on the yarn. So pretty!
I thought the original was too small and made mine to be 20 squares (80 stitches) x 22 squares (88 stitches). The initial chain was 84 stitches, not 68. With the border, it measures 34" x 36", perfect baby blanket size, yet it's big enough to use as a lap blanket when she gets a little older.
Most importantly, E loves it! She crawls back and forth on it and likes to play with the basket weave.
Subscribe to:
Posts (Atom)


-1.jpg)


-1.jpg)
-1.jpg)